Painting the airplane that I built was one of those things I just wanted to do myself. I've painted 7 or 8 cars over the years and have a basic understanding of what's involved. As always these things are much more work than anticipated. There are a lot of pieces on an airplane and it takes a lot of time. Here is a description of my process and what I would do different next time.
Several different brands of paint were used.
This requires a lot of different thinners, reducers and hardeners and in
some cases different primer. From the start I used Ditzler DP-40
(http://www.ppg.com/car_autocoat/default.htm)epoxy
primer for corrosion protection on the interior. The empennage pieces
were etched and alodined but as the parts became larger I started only
cleaning them, scuffing and priming. DP-40 is difficult to use; it
is toxic and has a short pot life. I don't think there's much difference
in quality paint. Select one brand from a near by supplier who can
provide material, especially activators, in small quantities. Find
one that is willing to help you even though you're not a body shop.
Make sure you get complete data sheets with each product. This is
usually available on the WEB.
Sherwin Williams Sunfire (Acrylic Urethane) (http://www.sherwin-automotive.com/) was selected for the color coats. This is compatible with the DP-40 and was used for the engine mount, canopy frame, roll bar and base coat for the instrument panel. Sunfire is a single stage system with a slick durable finish. It is designed for OEM fleet use and doesn't come in as many colors as Ultra, SW's standard automotive paint. I painted the interior (seats, sides, floor, bulkhead) white. The interior is difficult to paint because of limited access under the panel and the over spray has no place to go. The panel was also painted with the Sunfire. Silk screened lettering with epoxy ink was added then the entire panel was clear coated with a no gloss clear coat. I decided that the all white interior was too clinical and repainted the cockpit areas not covered with upholstery with an eggshell gloss, nonmetallic PPG acrylic urethane. The removable pieces were stripped, reprimed and painted other areas, like the rear baggage floor was overpainted. It's best to get it right the first time.
Paint Guns
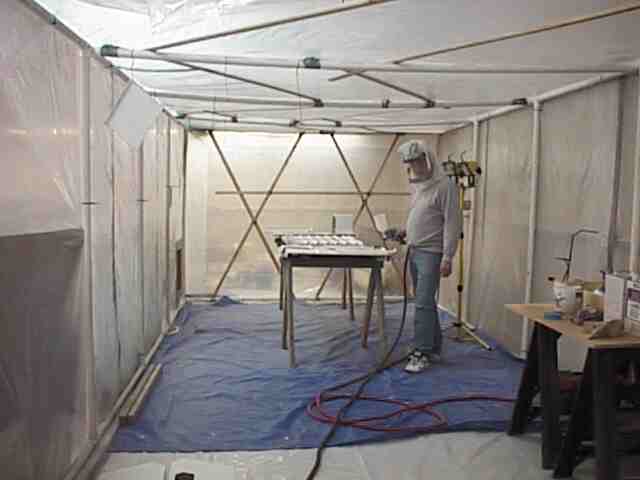
Up to this point everything was shot with my siphon feed guns, Marson and a Sharp touch-up. I decided to change to HVLP (after all it's the latest and greatest method). I bought a new Sharp SGF-98 (http://www.sharpe1.com/gun-page.htm) gravity feed gun that runs with a 40-50 psi input and produces 8-10 psi at the tip. This was going to save me product and reduce the overspray I had to deal with. The gravity feed worked great except for the fuse bottom where I laid on my back and had to use the old siphon feed. The HVLP required a significant change in procedure where as in high pressure the gun is held 8-10 inches from the surface, in HVLP to gun is 5-6 inches away. A pressure regulator at the gun is needed for either gun, as there's significant pressure drop in the supply line. HVLP is more sensitive to pressure changes than siphon feed and being close to the surface, it's harder to see the material buildup and flow-out. Stay with the spraying method you're experienced with.
Paint Booth
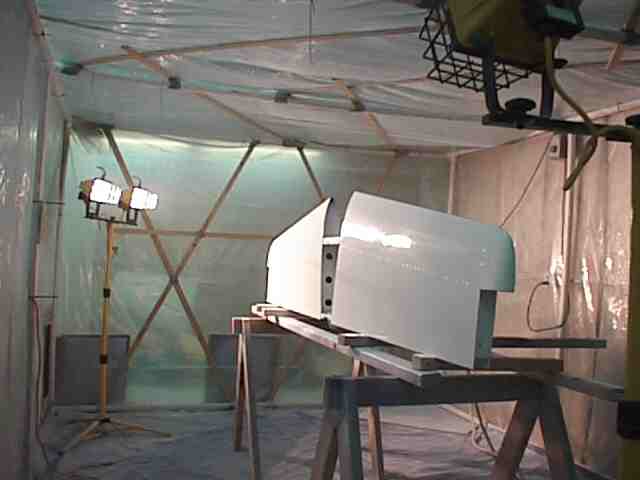
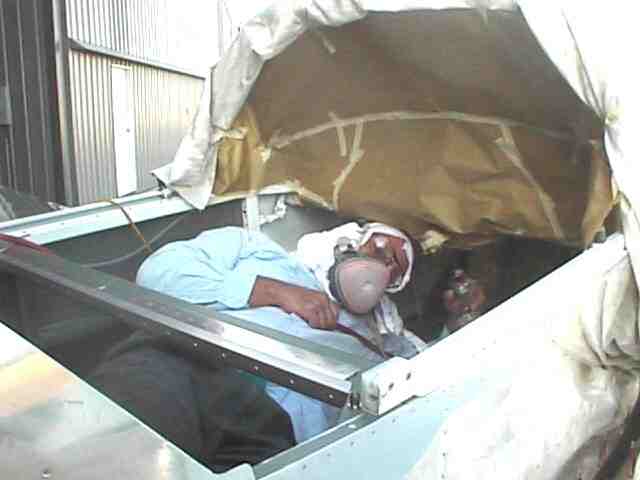
The exterior was painted during the winter in Minnesota. I constructed a paint booth frame out of 1 1/2 inch PVC and covered it with poly. The booth was 10 x 25 feet allowing me to get the fuse in, have a mixing table and maneuvering room. One end had the door which was a drop curtain and a bank of furnace filters. The air was exhausted with two blowers. I used old blowers from a furnace. The air was directed by a poly chute to an exterior door. The open door had a baffle with only openings for the exhausted air. If you don't have an active air flow the overspray will settle on your wet surface. I built an external air supply for breathing. An old shop vac provide the air to a flexible tube (left over corrugated conduit) to a face mask constructed from a face shield covered with a plastic bag. The air supply hose was attached to the top of the shield and blew over my face. This worked fine except that I didn't have a tear off shield covering and it was a lot of trouble keeping the visibility good through the mask. The booth was made out of translucent material but there is never enough light in the booth. I used four 500 watt halogen lights on stands which could be moved to light the areas I was painting. This was not enough as it was not always possible to see the laydown clearly. A friend later told me that he painted with a light in one hand and the gun in the other. Get plenty of light - do not paint by Braille.
Holding Fixtures
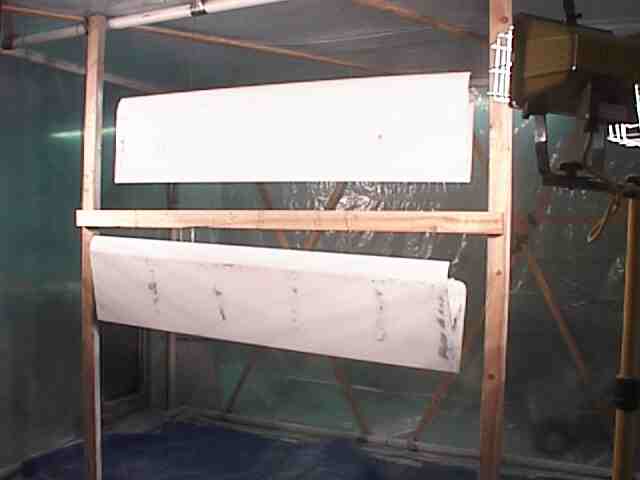
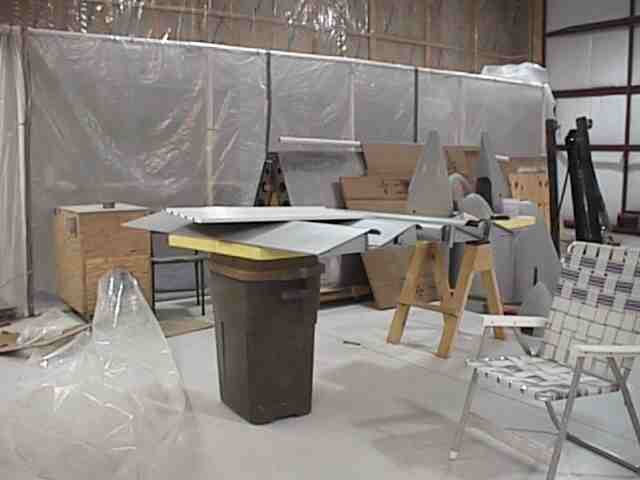
Since both sides of pieces must be painted some method to hold them is needed. It is easier to paint horizontal items as runs and sags are less of a problem, however, vertical painting must be learned unless you intend to put the fuse on a rotisserie. I built simple hangers for the flaps and ailerons. If these items are just hanging, the air pressure will deflect them and cause movement while spraying, greatly changing the gun distance. I did paint the wings while they were horizontal. I attached a 2x4 with a pipe flange and pipe to the end rib. With the spar on one saw horse and the pipe on another, I could paint the top and rotate it to paint the bottom.
Exterior Paint

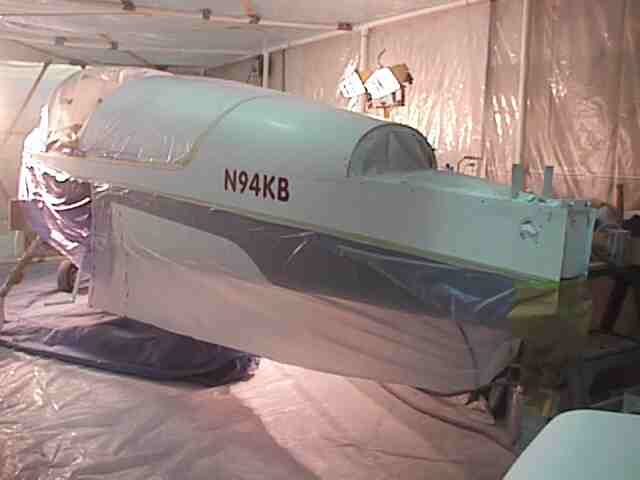
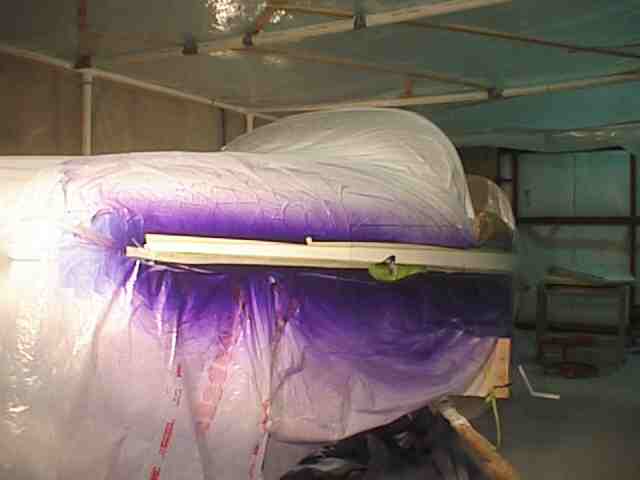
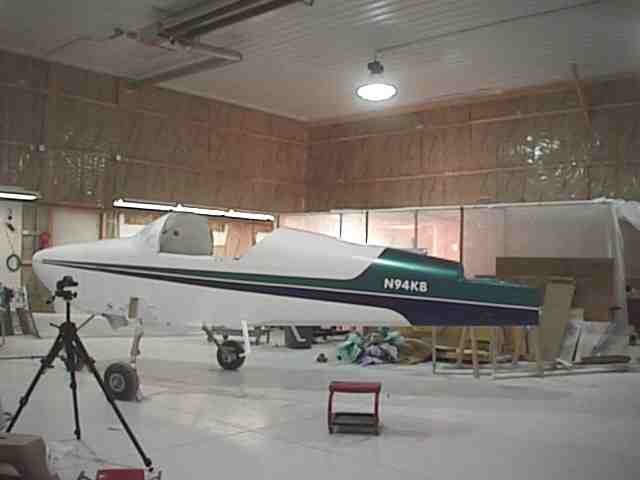
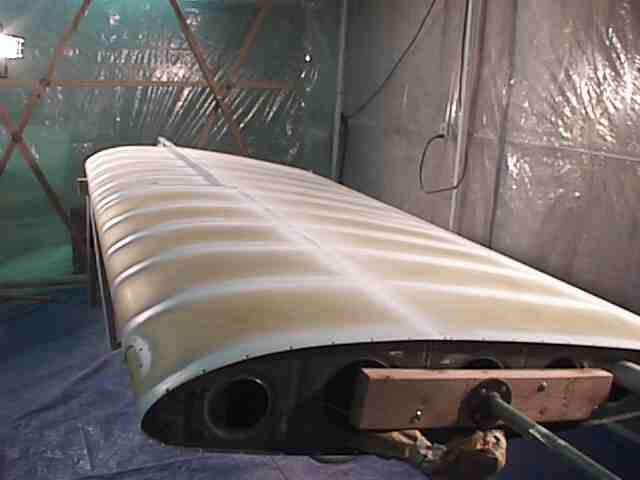
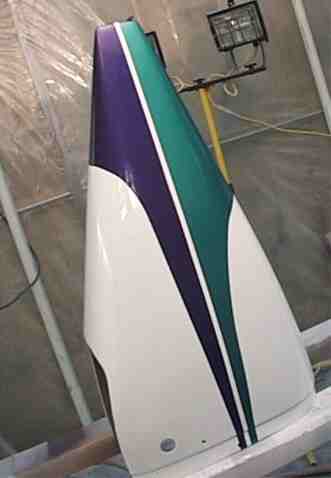
I decided that I wanted to use metallic paint for the exterior trim colors. My past experiences with single stage metallic caused me to use a basecoat/clearcoat method for the exterior. Sunfire wasn't available in two stage systems and the SW Ultra required clear coating within 6-8 hours of applying the base. I switched to the Akzo Sikkens autobase/autoclear (http://www.sikkens.com/) system as it allows more control over the time for putting the clear on. I had to spray on the base then mask and spray two colors of trim before putting clear over all ot it. The sikkens systems allows 24 hours before the final sealing. Metallic colors are somewhat translucent and the entire area must be the same color. I didn't want to spray the white base over areas covered by the trim so I used a white primer. I put this white primer over a vinyl wash primer. It can be used as a surfacer or sanding/surfacer depending on how it is mixed. Extra primer was put over the rivet lines but not enough to fully cover them, after all this is a metal airplane. The wings were painted with the tanks on but not fully screwed down. A few screws were used with filed down heads allowing paint to cover the countersink holes. Later the tanks were attached with stainless screws (yes, I know these are not as strong as the AN ones). The tanks are now removable without upsetting a paint line.
The white primer provides a smooth base and nice flowout of the basecoat. After the basecoat, I laid out the stripes according to the already tested patterns. Good 3M fineline tape was used. This was followed with a wider quality tape which can be removed without pulling up the uncured basecoat. The fineline tape is good about preventing bleeding under it but does not stop it where the line runs over rivets or panel overlaps. I got some bleeding in these areas. I used an exacto blade to remove it before clearcoating. If runs, sags or major contamination occur in the basecoat, Sikkens recommends sanding and reapplying; minor imperfections can be touchup prior to applying the clear.
#%&! Fiberglass
![]()
The horz and vertical stab fiberglass tips were smoothed into the stabs. This required a lot of filling, sanding, filling, sanding, primering, sanding, primering, sanding ... The wing tips and the spinner were the easiest. The cowl (old fiberglass one) required a lot of attention with primer surfacer to remove imperfections and smooth the air scoop area. This is more like automotive paint prep where you can keep working until you finally decide enough is enough - then find out it wasn't.